
Removal of the wisdom teeth is the removal of your last set of adult molars, or the third molars. Most modern jaws are too small to accommodate these four last molars, and they often become impacted or grow at a painful angle, resulting in severe crowding, jaw decay, and severe gum infections.
In this article, you will learn the preparation guidelines, the surgical extraction process, and detailed postoperative recovery and care. You will learn how to properly prepare for outpatient surgery, which anesthesia dentists use, how to minimize swelling and discomfort, and how to avoid complications such as painful alveolar osteitis.
Guidelines and Diagnostic Planning for Wisdom Teeth Removal
When a patient is scheduled to undergo an outpatient surgical procedure, there is a lot of planning to be done to reduce the psychological stress and physical risk. With proper preparation, the dental surgeon’s team will have a clear diagnostic path, and you will be physically prepared for a smooth recovery. These essential steps include your complete pre-op checklist and questions.
The Dentist Consultation and Diagnostic Imaging
The first step in your surgical journey begins with a comprehensive dental evaluation. First, the clinical team takes digital panoramic X-rays to obtain a clear, comprehensive view of your jawbone, teeth, and nasal structures before treatment planning.
A 3D cone beam (CBCT) scan is taken if the roots of your tooth are deep and close to important nerve pathways. This new imaging technique gives you a detailed three-dimensional map of your bone density and the route of your facial nerves. Your dentist uses these detailed pictures to determine the safest way to remove the tooth without damaging nerves or the sinus.
During this visit, provide a full medical history, including any prescription, vitamin, or over-the-counter (OTC) medications or supplements you are taking. Certain drugs, such as blood thinners, should be discontinued before surgery to allow normal clotting.
These precautions will help minimize bleeding and support your physical recovery at home after your outpatient surgery. It enables you to recover at home safely without having to deal with secondary complications or prolonged discomfort that may easily disrupt the normal cellular regeneration of your bone and soft gum tissues over the next few days.
Selecting the Best Sedation or Anesthesia Option
Helping patients feel comfortable and minimizing their overall fear of dental procedures are primary concerns for the dental surgical team. There are various levels of safe anesthesia to choose from depending on your health profile, the overall complexity of the physical extraction, and your personal dental fear level.
- Local Anesthesia — This is done by injecting the area around the extraction sites to numb the entire area. You are fully conscious but under pressure, not in pain.
- Nitrous Oxide—This safe gas is inhaled via a nasal mask, which will help you relax deeply during treatment. When oxygen returns, the sedative effects are short-lived, and you can drive safely.
- Oral Sedation — You are given a pill to take before the procedure, making you physically sleepy. You are still responsive to directions and are totally relaxed and calm.
- IV Sedation — Provides potent, controlled sedatives via an IV directly into your bloodstream. You go into a state of physical relaxation and have complete amnesia of the surgery.
The surgical team will monitor your heart rate, blood pressure, and blood oxygen levels during your procedure to keep you safe, stable, and comfortable.
The Step-by-Step Pre-Operative Checklist
Systematic preparation the day before wisdom tooth removal ensures a safe surgical procedure and a smooth recovery. Below are the necessary steps to get your body and the recovery area in your home ready:
- Be sure to follow strict fasting guidelines, such as no food or drink, including water, for 6-8 hours before IV sedation
- Wear comfortable, loose clothing with short sleeves so intravenous lines and blood pressure cuffs can be easily placed
- Have a dependable adult driver wait for you at the office while you are undergoing your surgery to drive you home afterward
- Keep soft, nutritious foods in your kitchen, sterile gauze pads, cold compresses, and any pre-prescribed medication on hand
- Do not smoke, vape, or use tobacco products for at least 12 hours before your appointment time
- Avoid wearing make-up, nail polish, jewelry, or contact lenses on the day of surgery
A clean, calm recovery room at home, with additional pillows to elevate your head, will help you slip right into rest as soon as you return from the office. This proactive planning will help to reduce physical activity in the critical first hours of healing, which will help you to avoid secondary postoperative bleeding in your fresh extraction sockets at home, after you have completely left the surgical clinic area.
Step-by-Step Surgical Extraction Process
It can be helpful to patients to understand what happens during a wisdom teeth removal procedure. Oral surgeons perform a standardized, highly controlled surgical sequence that is intended to remove the teeth safely without causing a lot of bone trauma. The following are the important clinical steps in the extraction procedure.
Gaining Access and Sectioning the Impacted Tooth
After the selected sedative has been administered, the surgical team cleanses the mouth and applies local anesthesia to ensure that all teeth and gum tissue are completely numb. The surgeon then carefully cuts a flap in the gums over the wisdom tooth, revealing the crown and bone. Gently removing a small amount of the blocking bone with a specialized dental handpiece, the tooth is either pushed back in place or extracted.
The surgeon will carefully divide the tooth into smaller pieces, which will help to protect your jaw and prevent any damage to your other teeth. Each portion is much easier to remove individually, using this sectioning technique.
Sectioning can reduce the force on the jaw, minimizing pain, swelling, and bruising after surgery. This is especially important if your roots are complex or curved, or if your impaction is horizontal and is forcing itself directly into your adjacent second molars. In this contemporary dental office, the surgeon takes great care to section the tooth so that the integrity of the adjacent molars is maintained and there is no damage to the surrounding bone tissue throughout the surgical extraction.
Cleaning the Socket, Placing Stitches, and Stopping the Bleeding
Once the whole wisdom tooth is removed, the empty socket is cleaned with a sterile saltwater solution. This step removes any small bone fragments, tooth fragments, or debris from the area. The surgeon then examines the empty socket to ensure the surrounding bone is smooth.
If an incision is made, self-dissolving stitches are used to close it and promote healing. These stitches will dissolve and fall off on their own in 7 to 10 days, and you will not need to come back for removal.
The surgeon covers the socket with a sterile, moist gauze pad to prevent bleeding and to help protect the wound. The pressure from biting this gauze must be firm, steady, and continuous to help form the protective blood clot. After bleeding has slowed, you will be transferred to a comfortable recovery room.
The dental office will provide your designated driver with detailed verbal and written instructions regarding your surgery. Meanwhile, the sedative effects slowly fade away safely and completely before you can make your way home to rest and resume your recovery process comfortably.
The Post-Operative Healing Timeline
Wisdom tooth removal is a process that occurs in different stages over a couple of weeks. Knowing what to expect at each stage can help you cope with your symptoms and identify any complications. Below is the step-by-step healing plan that provides the essential physical recovery milestones you encounter:
Day 1: Establishing the Vital Blood Clot
During the first 24 hours after dental surgery, all you do is protect the newly formed blood clot. Once the numbing effect has subsided, you will start to experience soreness and slight throbbing on the face. The first dose of pain medication should be given when the mouth is still numb to avoid peak pain.
Always keep the head higher than the heart, and use additional pillows to minimize throbbing and swelling. This is a normal symptom; expect the blood-tinged saliva to ooze slightly and persist. Hold the gauze pads firmly for 30-45 minutes, changing them only when they become wet.
Avoid spitting or rinsing the mouth because the blood clot will be sucked out of the bone socket. Gently pat away any excess saliva with a clean tissue instead. Physical activity should be avoided, and rest should be complete. Avoid hot, carbonated, or alcoholic drinks and never use a straw during this crucial time.
Negative pressure will help to keep the new blood clot securely in place in the socket, which will prevent painful exposure of the bones and complications of healing in the days ahead.
Days 2-3: Managing the Peak of Inflammatory Swelling
Edema and bruising around the cheeks and jawline are usually at their worst within 48 to 72 hours following wisdom tooth removal. This is your body’s natural inflammatory response to tissue manipulation. Relieve discomfort by applying ice packs or cold compresses to the sides of your face for 20 minutes on, then 20 minutes off.
Cold therapy constricts blood vessels, dulls nerve signals in the area, and reduces the spread of facial swelling. Only soft, cool, nutrient-rich foods are allowed in your diet. Examples of the food are:
- Gentle, warm bone broths or pureed vegetable broths
- Creamy Greek yogurt, cottage cheese, or fruit pudding
- Smooth potatoes (mashed) or sweet potato puree
- Scrambled eggs that are soft, cooked, and cooled
- The nutritious smoothies are consumed with a spoon, not a straw
Stay hydrated by drinking lots of fluids, but rinse lightly over the tongue; do not rinse or swish. Soft, nutrient-rich foods help your body heal after dental surgery. They support cell repair, provide the calories your body needs, and reduce pressure on your mouth. This helps protect the surgical wounds and promotes safe healing during the first three days after surgery.
Days 4-7: Transitioning to Moist Heat and Active Hygiene
The acute swelling should start to decrease by the fourth day, but your jaw may be temporarily stiff and sore. Now use warm, moist compresses on your cheeks instead of ice packs. The soft warmth helps relax tense facial muscles, improve circulation in the area, and relieve jaw stiffness.
Now, gentle and active oral care can be started to maintain the healing sites. Add 1/2 teaspoon of salt to 8 ounces of warm water to make a soothing saltwater rinse. Gently swirl the warm saltwater around in your mouth from side to side, then pour it down the sink without spitting.
Do this saltwater wash after each meal to remove food debris. You can brush your teeth again with a soft, gentle brush, but not in the extraction sockets! Once your jaw has more mobility, you can start offering semi-soft foods, such as soft pasta.
You should follow these delicate saltwater hygiene practices for the first week to avoid the growth of harmful bacteria. It will keep your healing sockets free of irritating food debris and allow the new gum tissues to heal safely and comfortably in your mouth without any problems today.
Week 2 and Beyond: Complete Soft Tissue Closure
In the second week of recovery, your discomfort should be reduced, and you should be able to resume normal activities and gradually resume light exercise. The soft gum tissue covering the extraction site will regenerate, and the opening will close over time over the next 3-4 weeks. The gums heal fairly quickly, and the underlying jawbone takes several months to remodel and regenerate new bone to fill the socket.
Proper oral hygiene is essential and should be continued by rinsing with warm salt water or a special irrigation syringe (as recommended by your surgeon). Do not poke the healing sockets with toothpicks, utensils, or your tongue. A gentle, clean environment prevents late-stage infections and allows for smooth, uninterrupted bone remodeling beneath the surface. This natural biological process eventually restores the full structural strength and long-term support of your jaw to normal.
Preventive Care
Wisdom teeth removal is a common procedure, but it can only be successful if the surgical area is kept free from unnecessary disruptions. Knowing the major postoperative issues and how to prevent them in advance helps you achieve a quick recovery. The following are critical risks and preventive dental safety measures you need to take seriously.
Reducing the risk of Alveolar Osteitis (Dry Socket)
A dry socket (also called "alveolar osteitis") is a painful condition after tooth extraction that occurs when the blood clot becomes dislodged, dissolves, or fails to form. This leaves your raw jawbone and sensitive nerve endings exposed, leading to painful sensations.
Below are rules you can follow to decrease your risk of developing this condition:
- Avoid using straws for 7-10 days
- Avoid smoking and vaping for at least 72 hours
- Do not spit or rinse the mouth on the first day
- Avoid hard, crunchy, or sharp foods that may tear the clot
If you develop a dry socket, you will experience sharp, throbbing pain that begins 3-5 days after your wisdom tooth removal and spreads up toward your ear. The dentist can easily treat this by cleaning the socket and placing a special medicated dressing to soothe the exposed nerves. This care eases pain, protects the surgical site, and allows your jaw tissues to heal naturally throughout your recovery at home.
When to Call the Clinic
While some soreness, swelling, and bruising are expected as part of the healing process, it is important to watch for potential complications. Understanding the difference between recovery symptoms and clinical warning signs is good for your systemic health.
- A sudden, high fever or a fever that lasts for a long time
- Pus, yellow-green discharge, or swelling that gets worse after day three
- A numbness sensation that won't go away in the lower lip, chin, or tongue
- Heavy bleeding that does not clot after biting on gauze
- Trouble breathing, eating, or opening the mouth just a little
If you see these signs, call your dental surgeon right away. Early evaluation of clinical symptoms can lead to early treatment, such as using specific antibiotics to treat an infection or administering specialized treatments for ongoing bleeding.
If your pain suddenly worsens, contact your oral surgeon immediately. Prompt care can help prevent complications and keep your recovery on track.
Schedule an Appointment With a Dentist Near Me
Addressing problematic third molars helps maintain your long-term oral health, prevents painful localized infections, and maintains proper tooth alignment. If the necessary extraction is delayed, it can cause significant crowding, increased sinus pressure, bone damage, and structural problems that are much more difficult to treat later. If you have a sore gum, a tight jaw, or need a preventive examination, schedule an appointment right away to prevent symptoms from worsening.
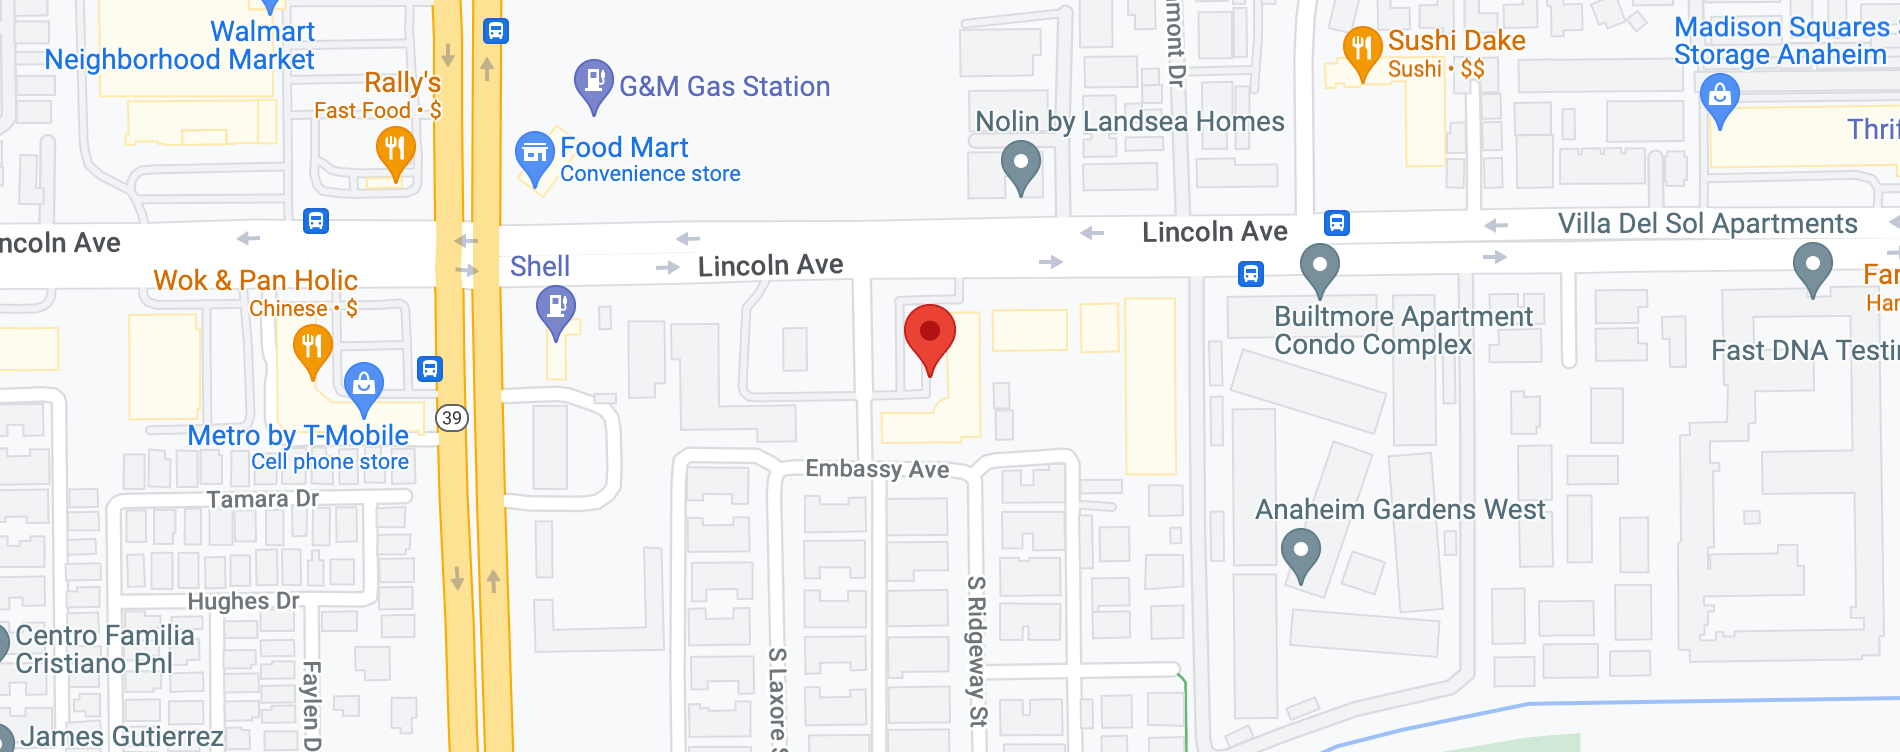
At Beach Dental Care Anaheim, we offer outstanding surgical treatment, including advanced 3D diagnostic imaging and personalized sedation options. With a wealth of clinical experience in all aspects of general dentistry and oral surgery, your wisdom tooth removal will be safe, comfortable, and highly successful. Do not wait for severe complications to compromise your oral health; call our dental office today at 714-995-4000 to schedule your first appointment.